Configuring Sympa integration
With Sympa x Zefort integration you can send documents for signatures directly from Sympa.
Configuring Sympa integration
- Open Account settings > Integrations > Sympa
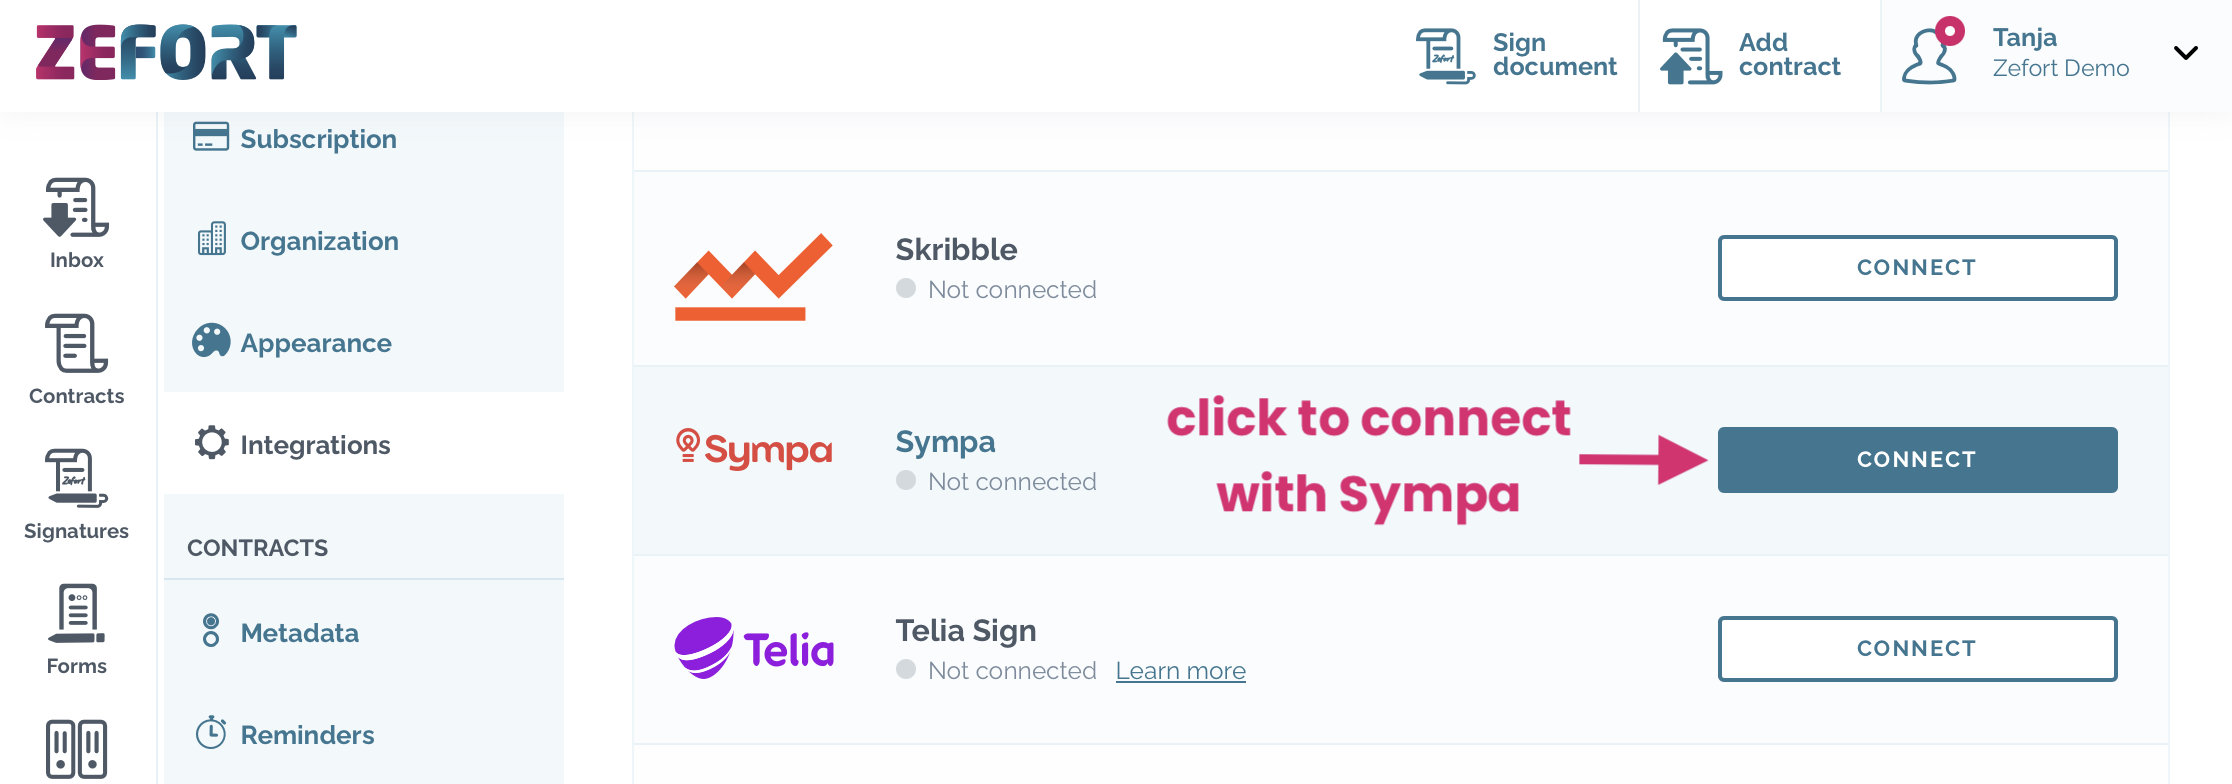
- Click connect and define the following settings:
- Name: enter the integration name
- Integration status: set the status to active
- Sign request URL and Secret key: copy these for completing the integration (refer to step 4)
- Language: choose the language for signature requests (the language will be used in the signature request email and on the signature page)
- Contract owner – select a default user to be the e-sign process owner in Zefort (if any of the document parties is a user on your Zefort account, this user will be automatically set as the signature process owner)
- Sender name – enter the name of e-sign invitation sender
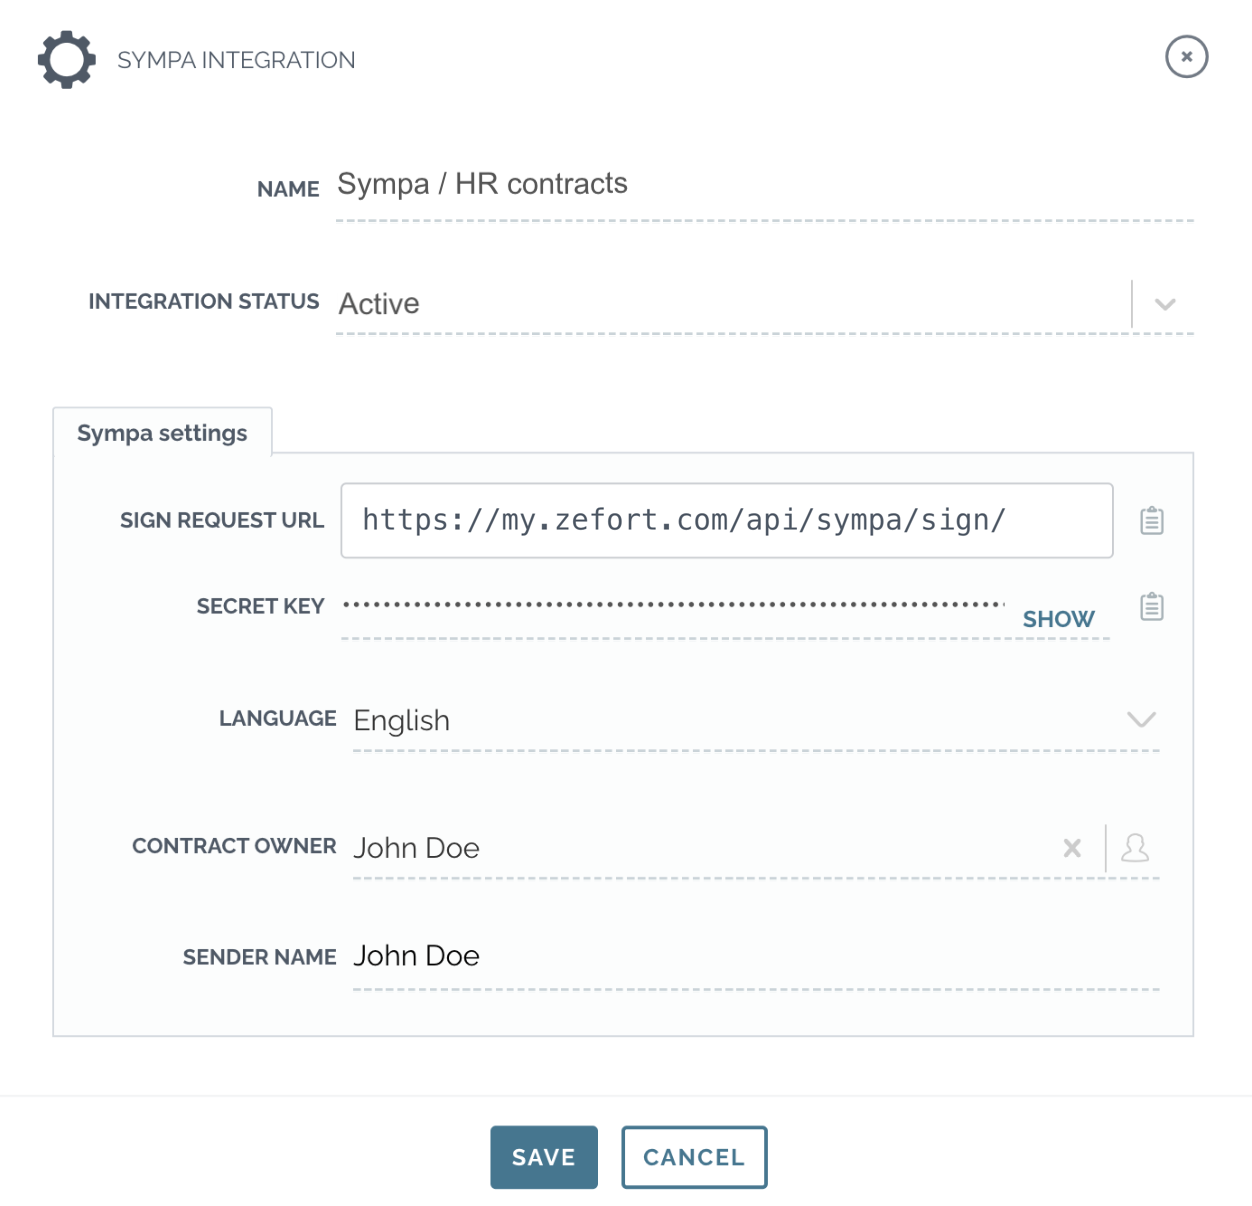
- Click save
- Contact Sympa customer support to activate the integration. Provide them with the secret key and URL securely for the activation process.
Using Sympa with Zefort Sign
Once the integration is set up, you can send signing requests directly from Sympa. If needed, please contact Sympa for support for starting the signing process.
Updates on the signing process are displayed both in Sympa and Zefort. After everyone has signed, you can find the completed document in Sympa and Zefort.