How to add a new contract to Zefort?
You can add contract to Zefort either by sending it by email or in the uploading it through the Zefort UI. If your organization is using Zefort through an API integration, the upload is done in the organization interface. This instruction is about the two first mentioned options.
Send contract by email
You can send a contract, together with attachments, to Zefort by email to your personal email address.
- In Zefort, open your account menu and select Email inboxes
- Copy your inbox email address by clicking the icon next to the address

- In your email app, paste the address and send the email with attachment to Zefort

Pro tip! 
If you want to send several different contracts by email, type the word multiple at the beginning of the email message. Zefort will create a separate contract for each attachment file.
Upload contract in Zefort
You can upload one or multiple contracts through the Zefort UI.
- Select “Add contract”.
- Select the file(s)/folder(s) that you want to upload.
- Adding contract
- You can type contract title manually if you don’t want AI to suggest it; you can also use the name of the file as the title [1].
- Optional: You can choose to start a signature process once the document has been uploaded [2].
- Select whether you are uploading one or multiple contracts [3].
- If you are adding one contract with attachments, select which document is the main contract [4].
- Add contract to a binder (you can do this also at later stage) [5].
Note: If there is a personal or group default binder set for you, the contract will be added to those binders automatically
- Select add contract

Pro tips!
- You can also drag & drop files and folders straight to your contract desktop or to a binder.
- You can create an empty contract and add the files later; just click “Add contract” and give title to the contract without selecting any documents.
After adding the contract
Once you have added the contract, whether by email, uploading or dragging & dropping, the contract will appear on your contracts desktop. When the AI scanning is complete, you can check and edit the metadata suggested by the AI. Read more about reviewing contracts here.
Please note that the processing will take some time. If needed, you can edit the document already before AI has processed the document.
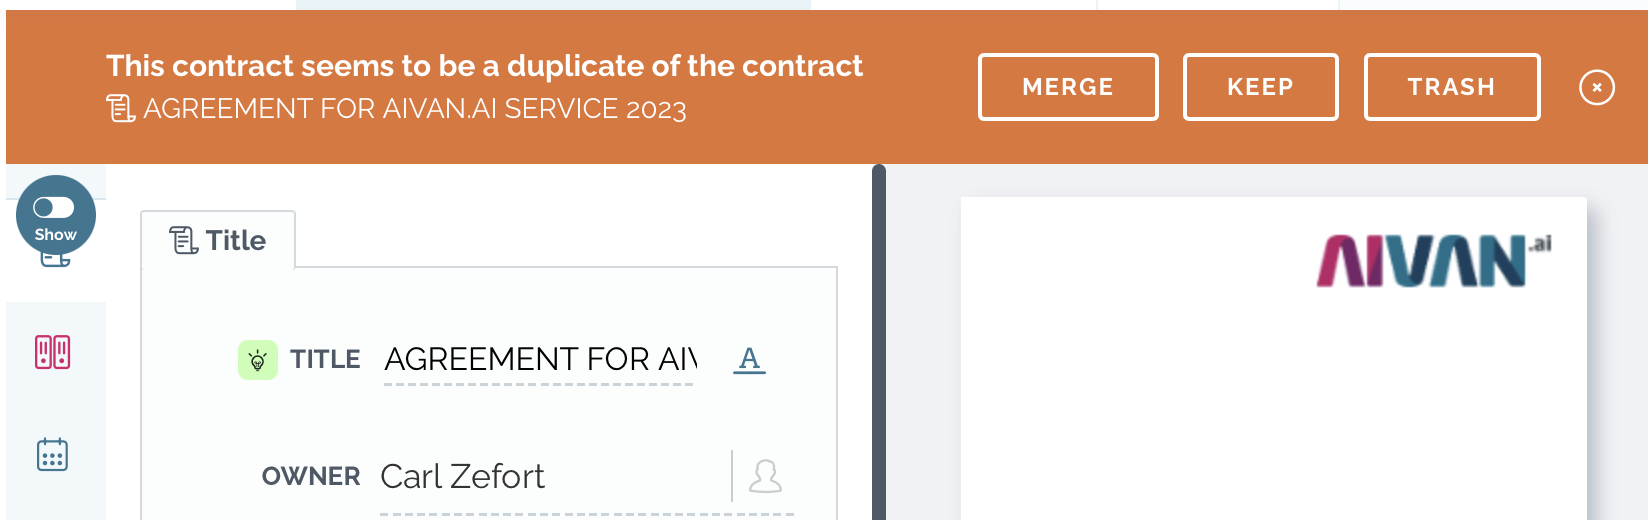
Duplicate contracts
When you upload a new contract and exactly the same file already exists as the main document in another contract, you will get a notification.
You have three options — either keep this new contract (so you’ll have two copies in Zefort), delete the contract you just uploaded or merge it with the other contract.